Import Java Maven project into Netbeans, which is built into eclipse or STS tool. In the below step we will see an example of the project that is completely developed by using eclipse and new we will import it into NetBeans and run it with the help of Netbeans.
Pre-requirements import eclipse maven project into Netbeans
There are some pre-requirements about the software and resources.
- Netbeans version should be latest or must be above than Netbeans 12v.

- Tomcat Version should be above 8.0
- Make sure Tomcat Server is configured and running into the “Services”.
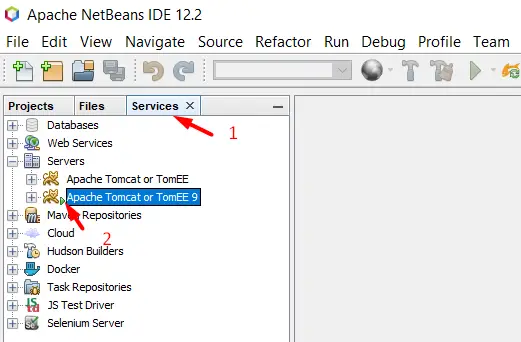
- Verify server configuration: Right Click on the server and go to properties and check the port number, UserName, and Password for the server.

Import Existing Maven Project into Netbeans
To Import the existing maven project into Netbeans you need to follow the below simple steps.
- Open Netbeans.
- Go to File in the top menu.
- Click to “New Project”
- Select “Categories” as “Java with Maven” and “Projects“ as “Project with existing maven”
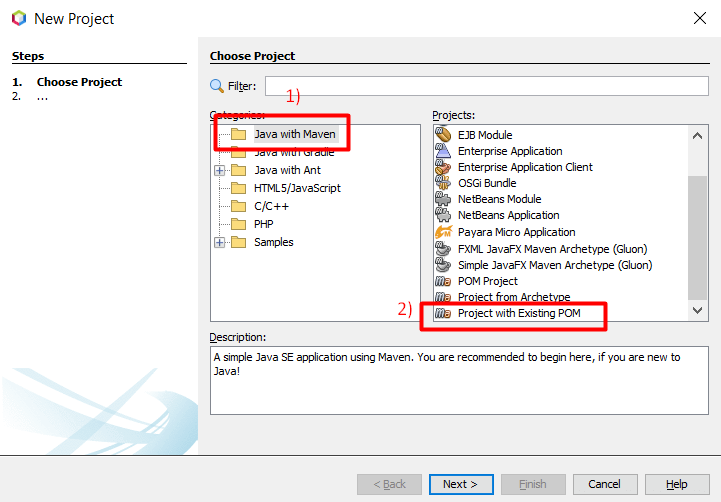
- Click to Next button and then Finish.
- Browse the Project from the directory

- Click to “Open Project”.
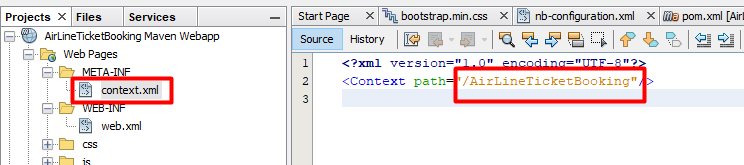
- Update context.xml. “Path should be “Project root Directory Name” “.
- Now Build the project.
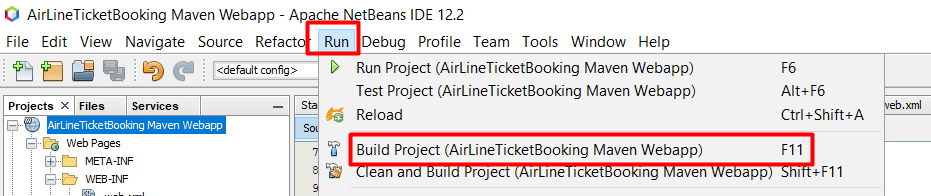
- After successful build Right-click on the project and click to “Run” Select Server tomcat 9 or above.

